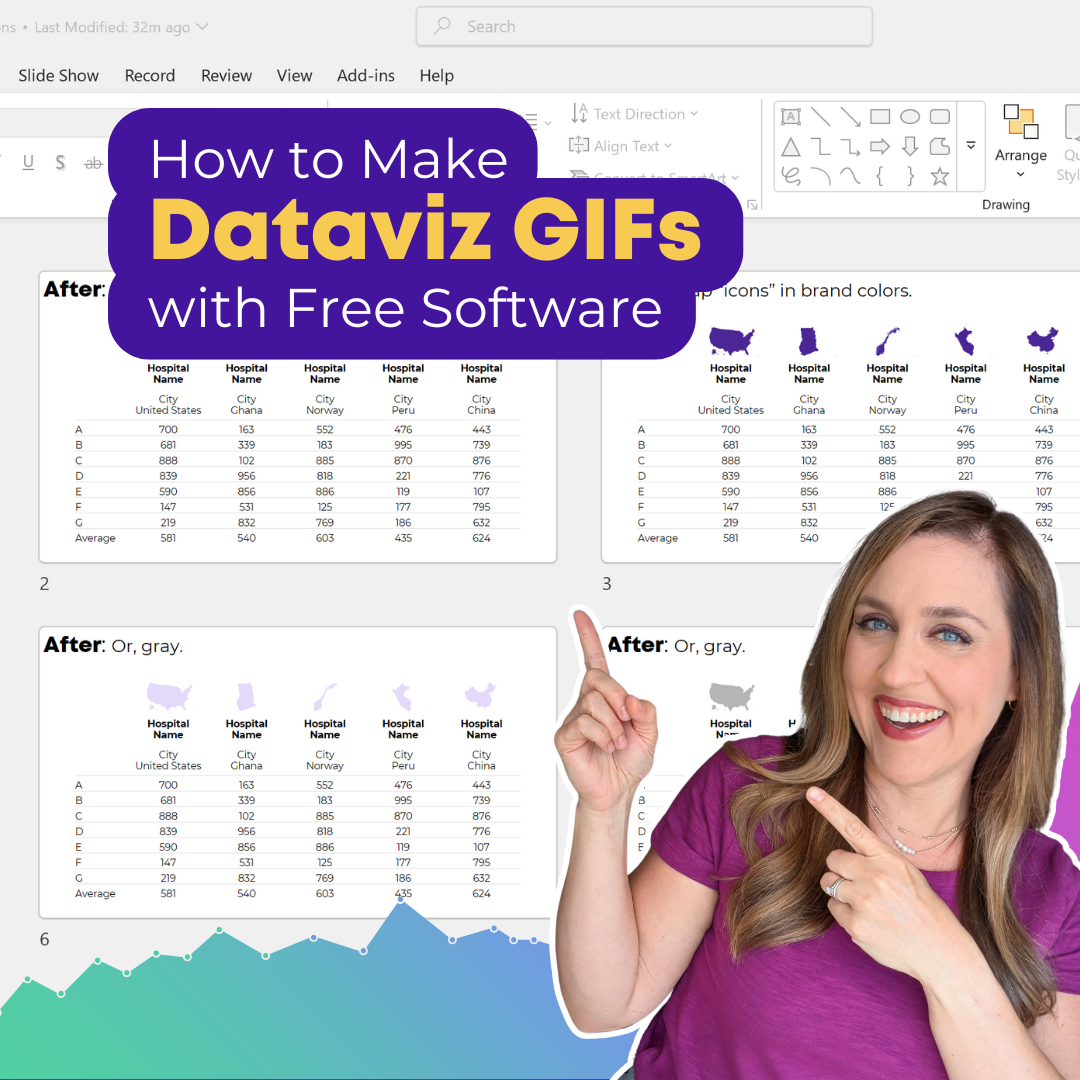
In this tutorial, you’ll learn how to make a data visualization GIF, like this:
Watch it here:
What’s Inside
- 0:00 What dataviz GIFs look like
- 0:36 Step 1: Lay out each frame (in good ol’ PPT)
- 0:57 Only 1 change per frame/slide
- 2:09 Don’t “jiggle” the slides
- 3:53 Step 2: Save each slide as an image
- 4:34 Save as a JPG (white background), not a PNG (transparent)
- 5:03 All the slides get saved in their own folder
- 5:33 Step 3: Upload the images to a free GIF website (e.g., EZGIF.com)
- 6:23 Upload the slides in order
- 6:53 Adjust the frame speed (0.5 – 1 second minimum; longer for first and last frames)
- 8:03 Adjust as needed (e.g., play 3 times and then stop vs. infinite loop)
- 8:27 Step 4: Share! 😊
- 9:12 Alternate solution: Natively within PPT (BUT, can’t adjust settings)
Transcript
Ann Emery: [00:00:00] In this tutorial, I’m gonna teach you how to make a DataViz GIF like this.
This is a before and after that I made just a few minutes ago, because I wanted to post it on LinkedIn.
And it’s really fast. It’s really easy. You can make it all with free software.
I get a lot of questions about like practical stuff like, “wait, you made a GIF?! How?!”
You know, people are on board, they understand the power of simple, engaging visuals like gifs, but then they’re like, “I don’t know exactly how you did that.”
So I wrote out for us the four really easy steps. Let’s do it.
Okay, so step one is you’re gonna lay out each frame. And I use good old PowerPoint for that. So I’m gonna show you behind the scenes it would look something like this. Each frame gets its own slide.
And a couple key tips here. Okay. So you have to make sure that you only have one [00:01:00] change per frame or one change per slide. For example, Let me go big screen so you can see what this would look like.
If you go from this to this, there’s actually two changes there. Do you see the title here? The title? And then the visual. If you jump here, the title changes and the visual changes. It’s a little bit too jarring, a little bit too hard, I think, for people to keep up with that, when like, everything’s changing all at once with the gif.
So you’re gonna need a lot of intermediate slides. You’re gonna need tons of these. You’re gonna probably need twice as many slides, or three times as many slides as you think you need. Okay.
Do you see the progression where it’s only one change at a time? It’s like this. And then second, just the text changes. Third, just the visual changes. Fourth, just the [00:02:00] text changes. Fifth, just the visual changes.
Okay, so you’re gonna need lots and lots of slides. Only one change per slide.
And then the second tip with this is, make sure you don’t jiggle the slides. You don’t want them to look shaky. Okay? So here’s what I mean.
I always make the after slide first. And let me copy this one and I’ll show you what I mean. Okay. Don’t jiggle it. No, no jiggling, no shaking. It’s gonna make people’s eyes roll around in their head and they’re gonna get really angry at you.
Okay, so here’s the after version, and then what a lot of people do is they just add a new slide and they’re like, yeah, I’ll just like.
I’ll just like copy paste this stuff over and they’re clicking so quickly that this one accidentally moves up just a little bit or accidentally moves to the side a little bit. And then when you go from one slide to [00:03:00] the next, do you see how it’s like a little jiggly? It’s a little shaky. Okay. So what I would recommend doing is do a copy of the whole slide.
Like see the little slide previews, you do a copy. And then a paste, and then you change one thing. So I always start with gifs and with a lot of DataViz makeovers like this, I start with the finished version that I know I have to make anyway, and then I delete, you know, I delete one thing, or I just change the text box that’s already there.
I’m not making a brand new text box because you want it to go from one slide to the next and see how the visual, the table itself stays exactly in place. Okay.
It’s these little details that really differentiate, like a homemade blah gif from a really nice, really impressive gif. Okay, so that’s step one.
You’re just gonna open up good old PowerPoint. You’re gonna lay out each frame across different slides.
And then step two is also really easy. You’re gonna save each frame or each slide as an [00:04:00] image.
Okay, let me delete these two ’cause we don’t want those to go into the final version. Okay. You can be clicked on any of any of these slides.
You’re gonna do a file, save as, and let me put it in my folder. I’ve got actually not that folder, I’m gonna put it in. This folder for the second tutorial of the day. Okay. By default, a PowerPoint is gonna save as a PowerPoint, but we don’t want it to be a PowerPoint. We want it to be an image file. So you go to save as type, and there’s a few different types of image files.
I will tell you jPEGs are the best for gifts because then it saves a white background where PNGs save a transparent background. And if you share your GIF someplace on a white background, but then somebody looks at it on a black background, like I have my computer set to white background, but then my phone often has a black background.
It’s gonna look funny. Okay, so you [00:05:00] want a jpeg, you want the white background like this.
Then you do a Save and PowerPoint’s, like, which, which slide? Which, which slide or slides? And you want all, you want all slides to turn into JPEGs. And then this gobbly go is just saying, we made a separate folder for you.
And you’re like, thank you, thank you so much. That’s so sweet of you. Okay, it looks like nothing happened. But then what you’re gonna get is you’re gonna get a folder. With all of those images, seven of them in this case. Okay. Step three is you upload your images to a free GIF website. Now there’s a bunch of free ones.
Uh, the one that I used in the past for years, it doesn’t exist anymore, so I’m gonna show you the new one that I use now. It’s called Easy gif. You can just go to Google though, and like. Make a free gif and you’re gonna find a million options here. Easy GIF is great though. It’s got all the [00:06:00] editing stuff you’d ever want, okay?
Easy gif.com. We’re gonna head to their GIF maker and then we’re just gonna upload those files, the little jpeg files that we have. They are, let’s see, where is my folder? Right about here.
Okay. When you open up your folder, I recommend clicking on the slides in order. So don’t click on this one first, and then this one, you know you’re gonna start here, and then you’re gonna click on them in order so you don’t have to manually sort them or manually drag them in the right order. Later you say, okay, you upload.
Okay.
It takes about this long, you know, maybe 10 seconds, 15 seconds. Okay. And then on this screen, I do highly recommend adjusting the delay between each slide. Now, [00:07:00] 20 throws people off. They’re like, what is a 20? Well, it’s in. Parts of a second. Okay. So I would recommend the first picture, the first frame. The first slide is the longest.
Maybe even something like two seconds so people can just like see what they’re even looking at, you know? So if it shakes too much, people get angry. They’re not gonna like your gif. It needs to go a little bit slower than you may anticipate, and the, the fastest I ever do is a half second between slides.
I’m gonna do a full second here. You know what? And let me save myself some time. Let’s set these all to be a full second, and then the first one, and probably the last one are gonna be a little slower. Sound good? Okay. I would say half second minimum. Probably more like a full second is gonna be, uh, better for a lot of your audiences.
So they don’t look at it and say, what is this flashy thing? It’s like, I’m getting a seizure looking at this. We don’t want any of that. And then you just say, make a [00:08:00] gif. Okay? And then you’re gonna see it down below in just a moment.
Here’s your preview if you don’t like it, if you want longer transitions, if you want it to play.
Three times and then stop. You can change all that. You would just click make a gif a second time or a third time as you make your edits. Okay, and then I’m just gonna save as, save image. As you know, you pick your folder, et cetera, where you want it to go.
And then step four is you get to share it and you can share it.
Anywhere that you’d normally share gifs. So on social media sites, a lot of them let you upload gifs. You know, social media, that the settings change all the time. So, you know, read into your specific, uh, platform before you do it. LinkedIn, which I’m on a lot obviously lets us do gif. You can share it in a website.
It can be embedded in a website. It can be shared in a PowerPoint slide. It can go in a [00:09:00] report like a Word document, but then if or when you PDF it, the GIF doesn’t show, right? It turns back into statics. So it may take a little bit of experimenting to kind of see which formats you can share gifs in.
All right, an alternative solution, because I know at least one of you is thinking this.
A lot of people are like, “Ann, you don’t even have to use EZGIF. You can actually make gifs natively in PowerPoint.”
And yes, you can make gifs natively in PowerPoint, but it is not my favorite. So I’m gonna show you for kicks how to do that, but then I’m gonna show you why I, I don’t like doing it.
Let’s go back to PowerPoint and I’ll show you the thing that’s very tempting. It’s very tempting to do this. If you go to file and you save as it’s very, very tempting when you get to save as type. Remember, we were there a couple minutes ago. It’s very tempting to just pick a gif off this list. Where is my gif?
[00:10:00] Animated GIF format? Okay. That’s what people always say, like, and don’t why? Why don’t you just do that? Just do this thing. Okay, I’ll show you. It’s because you can’t adjust the transitions between the frames. Okay. Where is the one I just made? It would be right here. Okay. You don’t get to adjust how many seconds.
It just gives you the time. That it, it gives, which is a little bit too fast in my opinion. It doesn’t let you add more time to the first frame or more time to the last frame. It’s just the, the timing that is there. Okay? So yes possible in PowerPoint with the caveat that you don’t get all the editing features that you would probably wanna have with a free site like EZGIF.com.
Have fun making your gifts, and when you make one, please tag me. Please comment below this video. I can’t wait to see what you make.
1 Comment
Great, clear guide — I like how you walk through the four steps to make dataviz GIFs with free tools rather than just talking about why they’re useful.
The idea of first exporting a series of static charts (for example from R, Python, or a dashboard), then assembling them into an animation, really resonates. It makes the whole process feel manageable even for people who aren’t comfortable with motion design software. The reminder that a GIF is essentially just a sequence of frames shown in order helps demystify what’s otherwise a slightly intimidating task. (depictdatastudio.com
)
I also appreciate that you highlighted frame timing and export settings — those small details often make a big difference in how smooth and readable the final animation feels. Choosing the right delay between frames can turn a confusing animation into a compelling storytelling tool.
When I create demo animations for tutorials or blog posts, I sometimes find that the initial export plays too quickly to be easily interpreted. Before embedding it, I usually fine‑tune the frame delay in the browser (occasionally tweaking the speed on gifspeed.com) so viewers can clearly see each step of the evolution.
Overall, this is a solid workflow for anyone who wants to go beyond static images and introduce animated data graphics into their documentation or social content — thanks for sharing!