
Want to organize your PowerPoint slides a little better? There’s a behind-the-scenes trick that I love using in my own presentations: Sections!
In March 2021, I was speaking with GEDIs about dataviz tricks for presentations. (The GEDI program is the Graduate Education Diversity Internship within the American Evaluation Association.)

I was scrolling through my slides, and someone asked how I created these “sections” to organize my content.
Adding sections to PowerPoint has been a gamechanger for me personally. They help me stay organized behind the scenes, which helps my audience, too. An organized presenter = an organized presentation = a happy audience that can learn from us headache-free.
Watch the 7-Minute Tutorial on Sections
I started to write a blog post with screenshots about sections… but that felt impossible. I wanted to show you how sections work, so I recorded you a tutorial.
What’s inside:
- A demo of what sections are
- How to add them
- How I use them to hide topics
- How I use them to re-order topics
What Are PowerPoint Sections?
Sections help us organize our slides into meaningful groups, categories, chunks, buckets, or chapters of a presentation.
In the video, you’ll see what they look like.
Can you spot the words above some of the slides?
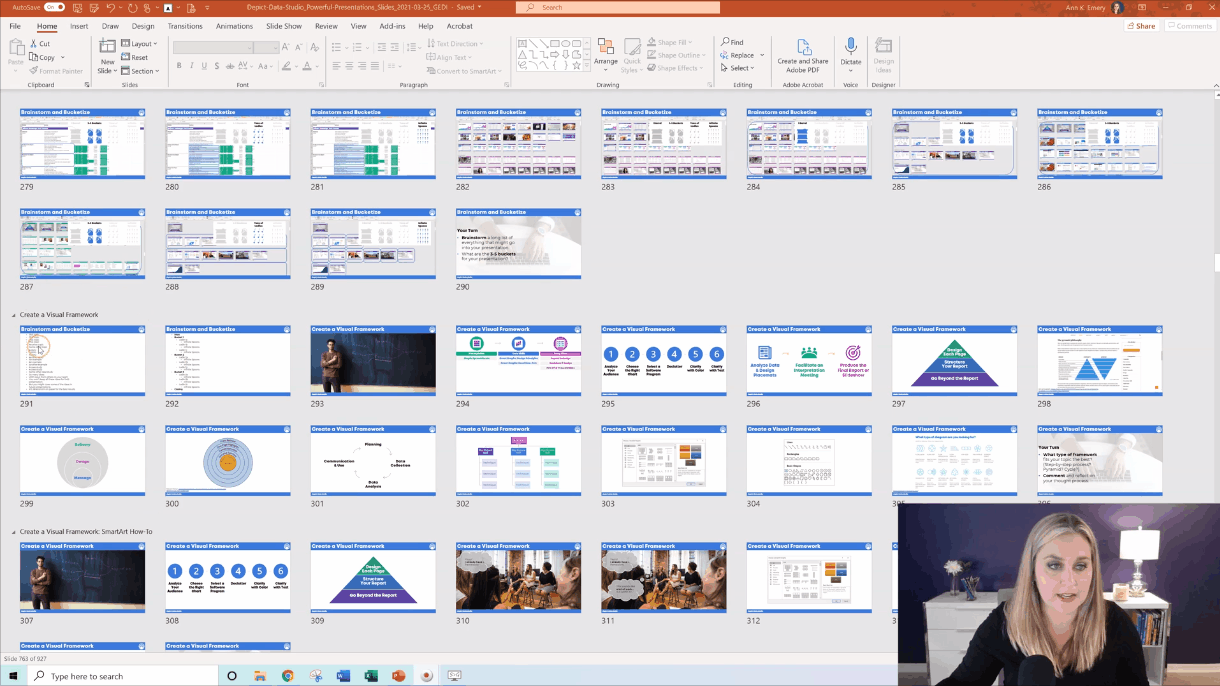
Our audience won’t see the sections. They’re for us, the presenters.
How to Add Sections
It’s easy to add new sections to a presentation.
Here’s how:
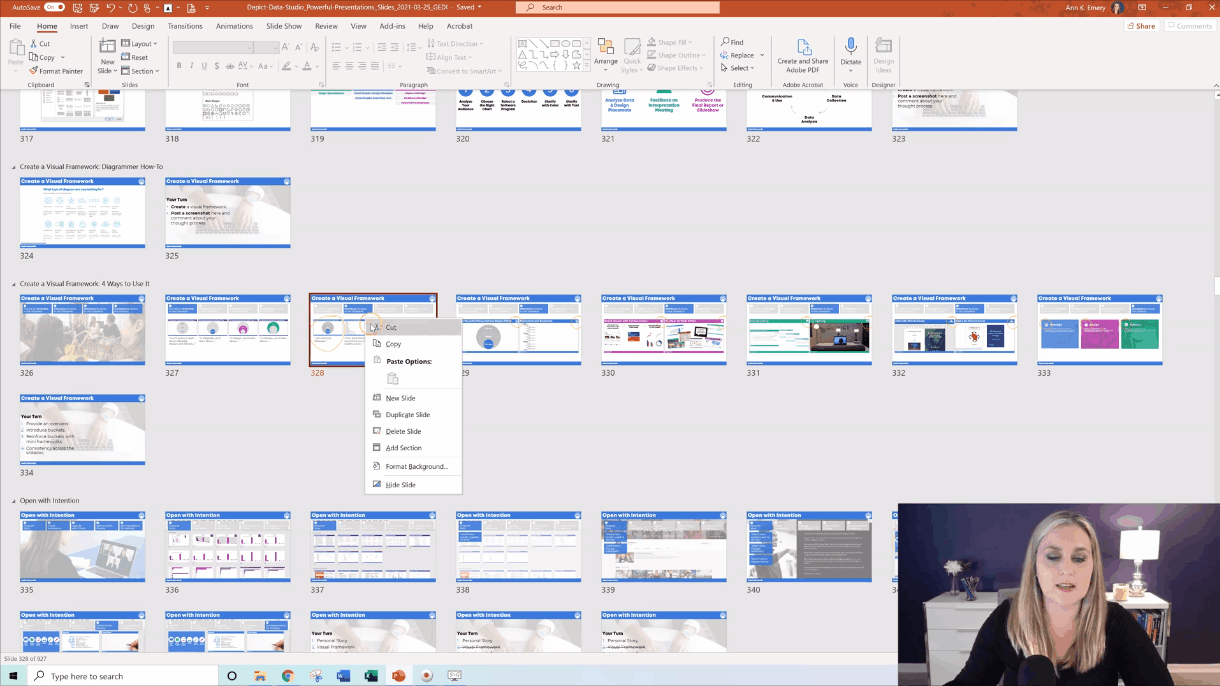
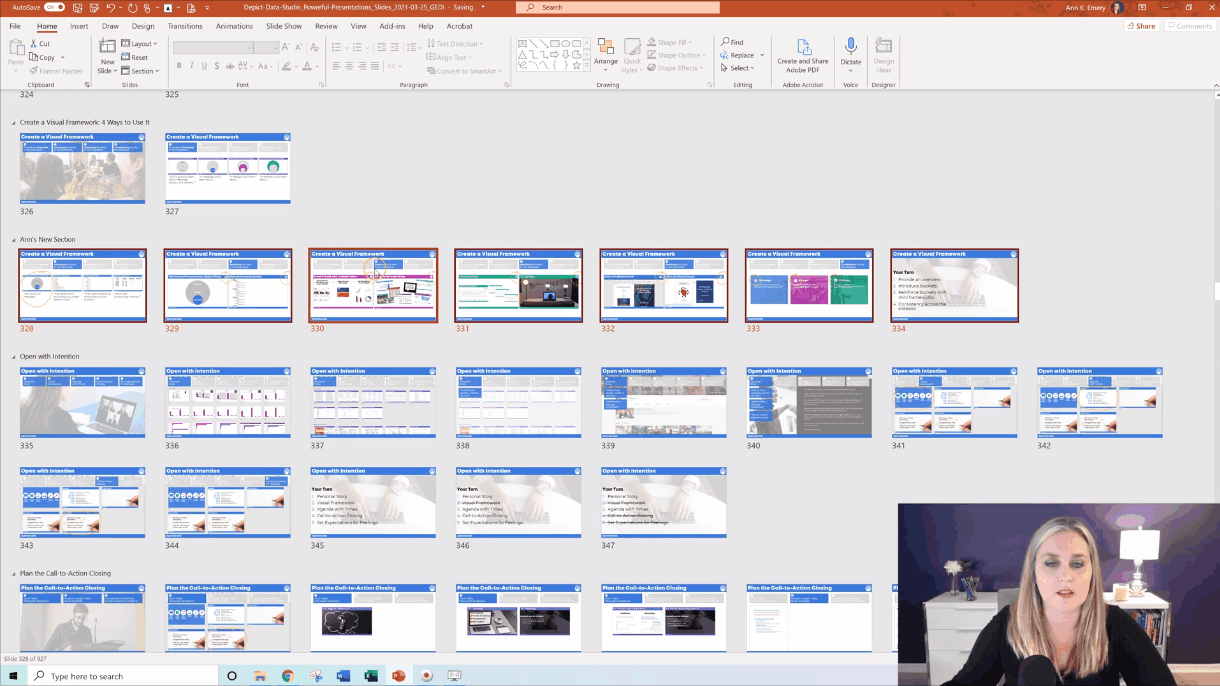
- I like to be in Slide Sorter view first. (The birds-eye-view of the presentation where you can view all the miniature slides.)
- Decide which slide is going to start the new section. Click on that slide to activate it.
- Right-click and Add Section.
- In the pop-up window, give your section a name. I use names like Introduction, Case Study, Conclusion, etc.
That’s it!!!
How to Use Sections to Hide Topics
I like to keep all my slides for a given workshop within a single file.
While prepping for upcoming talks, I go through the full file – all 900+ slides! – and choose which sections I’ll talk about.
I might cover Sections A, B, and C for one group.
I might cover Sections A, D, and E for another group.
I might add Sections F, G, and H as brand new topics for another group.
(For private trainings, I review the group’s materials ahead of time and hold some planning calls to figure out which sections are going to be the best use of our time together.)
As I’m deciding which sections to include, I simply hide and unhide the slides. In the video, you’ll learn how to hide and unhide slides.
(Yes, you can hide and unhide slides without having any sections. I personally like using sections so I can think about an entire category of slides that should be shown or hidden.)
How to Use Sections to Re-Order Topics
I definitely recommend outlining your presentation in a document or spreadsheet before making all your slides.
Our outlines don’t need to be 100% finished before we make our slides. I almost always make changes along the way.
One common change is re-ordering topics. I might envision covering topics A, B, and C, in that order. But later, as I’m designing the slides, I might decide to cover topics A, C, and B.
In the video, you’ll learn how to drag and drop entire sections to re-order them.
Your Turn
Let me know how you’ve used sections to keep your content organized!
Leave a Reply