
Want to get started with Tableau?
Here’s a step-by-step guide to making your very first Tableau dashboard.
In less than an hour, you’ll be able to install the free version of Tableau, add your dataset, create a few charts, and then combine then into a dashboard. You’ll still have time left for formatting, too.
Step 1: Figure Out Which Version of Tableau You Need
There are a few options:
- Public: Free BUT your datasets and graphs will be publicly available.
- Desktop: Paid; about USD $1,000/year per user.
- Server: Paid.
This article compares the versions in more detail.
Step 2: Download Tableau Public
If this is your very first dashboard, I’d recommend starting with the free version, Tableau Public.
Here’s how you’ll install it:
- Visit https://public.tableau.com/en-us/s/download
- Enter your email address and click Download the App.
- The download begins automatically.
- It takes about 5 minutes.
Step 3: Import or Connect Your Dataset
Now, you’ll need to connect your dataset to Tableau.
You can add datasets from Excel, Sheets, QuickBooks, etc.
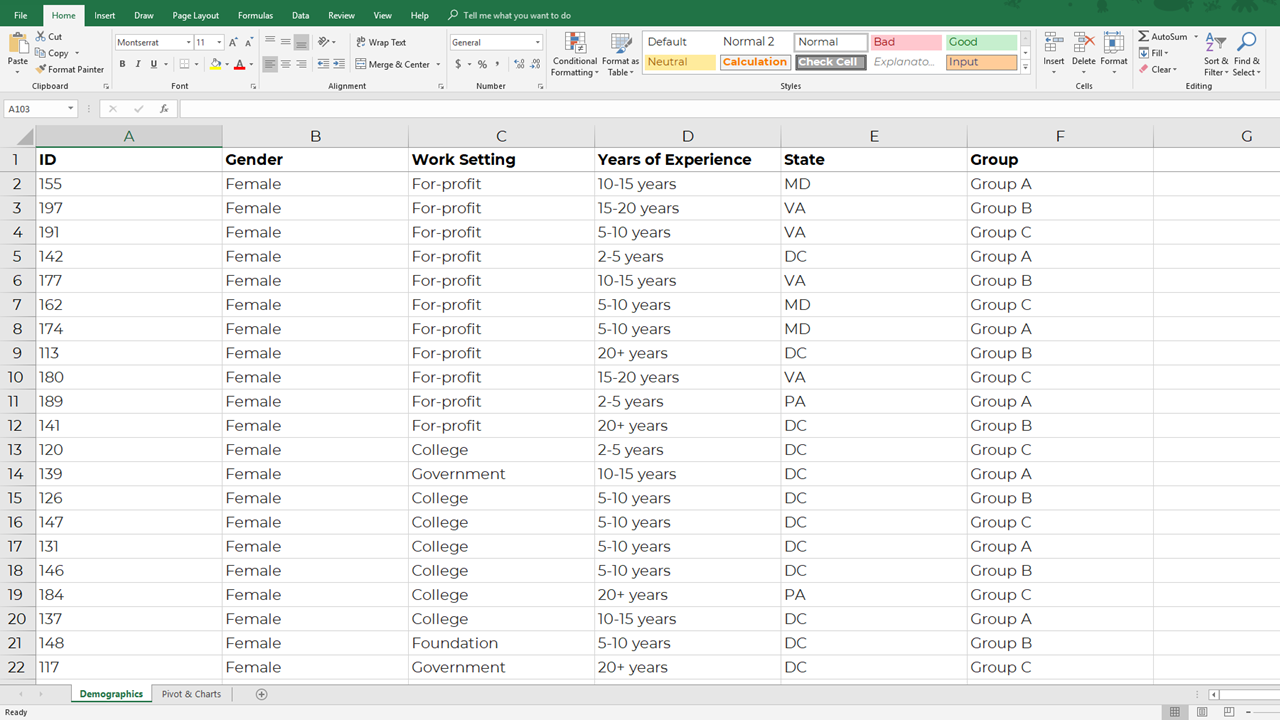
In this example, let’s pretend we’re visualizing demographic data from an Excel spreadsheet, like this:
Here’s how you’ll add your dataset to Tableau:
- Open Tableau Public.
- Connect to a File: Microsoft Excel. Open your file.
- You’ll see the names of the Excel Sheets on the left.
- Drag in the sheet(s) you want to use for your Tableau dashboard.
- Pre-filter if needed.
- Connect multiple tables if needed. Joins combine the columns of two datasets, and unions combine the rows of two datasets. Joins are most similar to lookup functions in Excel. Unions are most often used when more data is coming in, and you need to add more rows to the bottom of the dataset.
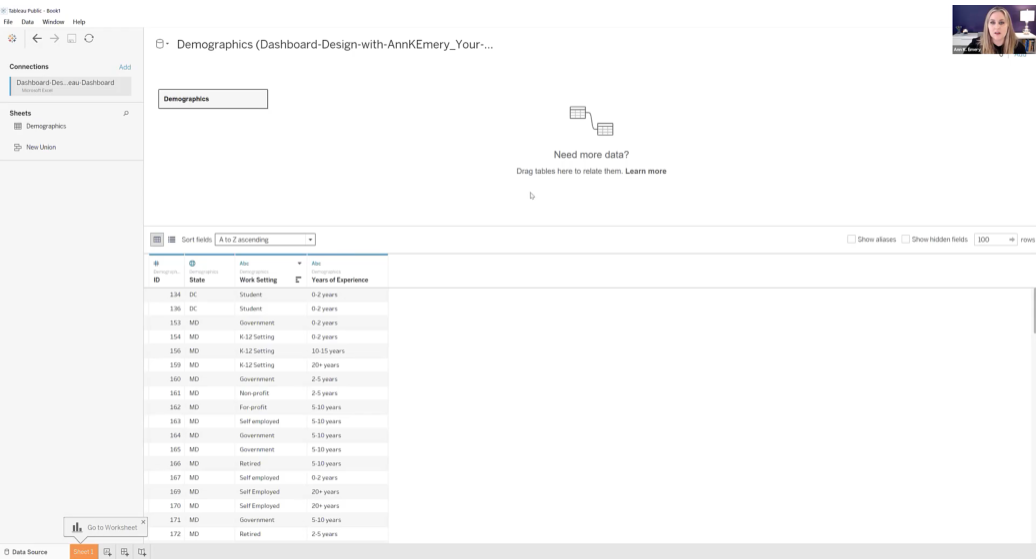
The preview of your spreadsheet will look like this inside Tableau:
Step 4: Drag and Drop Variables to Create One Visual at a Time
We’ll build one chart at a time. Then, in a moment, we’ll combine them into a dashboard.
First, let’s visualize the Work Setting data in Sheet 1. We would drag Work Setting into Rows and Demographics (Count) into Columns. Congrats! You’ve got your first bar chart.
Next, we’ll drag and drop variables to create a Years of Experience histogram.

Finally, we’ll create a color-coded (“choropleth”) map by State.
We’ll create a bar or column chart first, and then simply change it into a map with the Show Me menu.
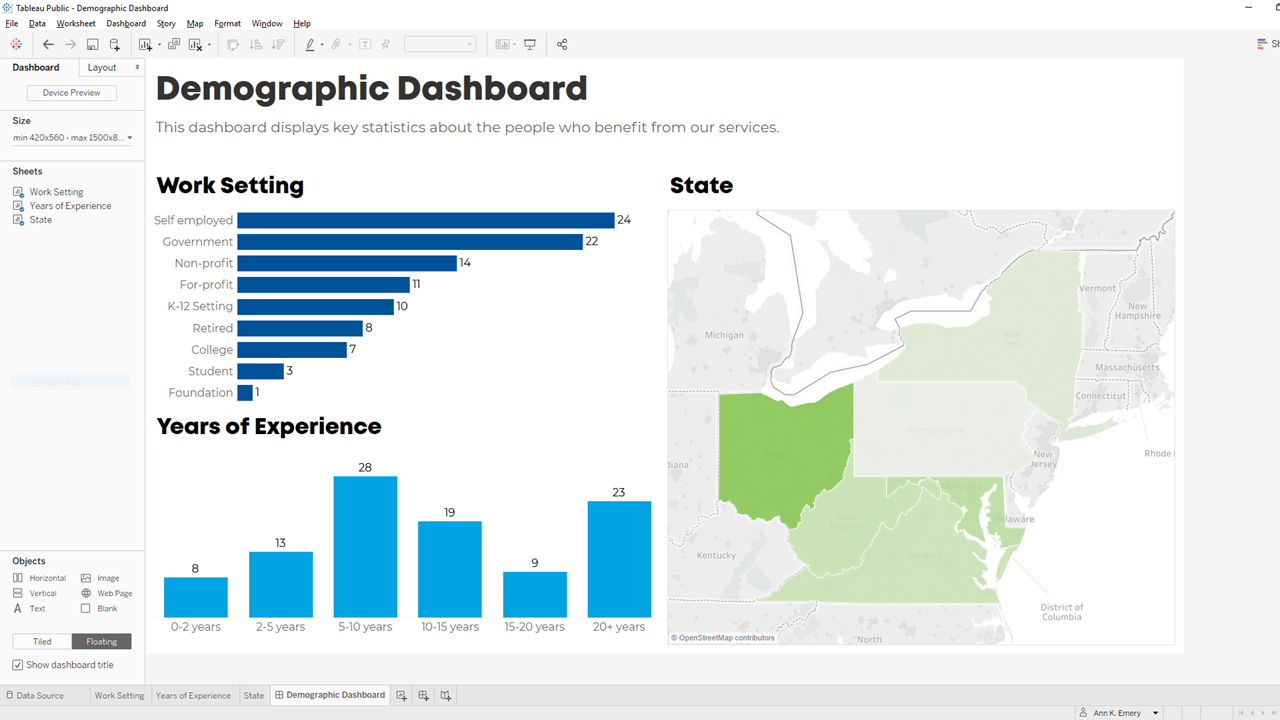
Step 5: Combine the Sheets into a Dashboard
Now, let’s combine our three individual graphs into a single dashboard.
Here’s how:
- Along the bottom, click on the icon to create a New Dashboard.
- Then, in the Dashboard tab on the left:
- Choose the device (Desktop, Tablet, phone, etc.).
- Adjust the size as needed.
- Drag the Sheets into the main dashboard area.
- Add Objects as needed (e.g., Blank to add some white space between visuals).
- The individual graphs can be tiled or floating. I prefer tiled.
- Check the box to Show dashboard title.
Step 6: Format, Format, Format!
It’s easy to create graphs in Tableau.
Like many software programs, it’s not so easy to format them to be Accessible (508/ADA compliant) and accessible (intuitive).
Here are some bare-minimum edits to get you started.
Apply brand fonts. Go to Format –> Workbook to change all the fonts in your file at the same time (rather than changing one visual at a time). Here’s an article with more info.
Apply brand colors. I personally just go to Marks –> Colors –> More Colors and enter the RGB or HEX codes. Or, here’s an article with a coding option.
I love color-coding by category (i.e., one brand color per graph). This is an easy way to make a dense dashboard feel not-so-dense.
Apply a text hierarchy. Make sure the dashboard title is largest, boldest, and darkest. You’ll also need Heading 1s, and you might need Heading 2s.
As usual, left-aligned text is faster to read then centered or justified text.
As usual, horizontal text is faster to read than diagonal or vertical text.
Don’t forget to turn bulleted tooltips into complete sentences for an extra boost of accessibility.
Your formatted dashboard might look something like this:
Step 7: Share the Dashboard
That’s it! Let’s share it with colleagues.
In the upper left corner, click on File. Choose Save to Tableau Public. Log in. Or, create a username.
Once the dashboard is saved to Tableau Public, you can save the dashboard as an image file, a PDF, a PowerPoint slide, etc.
Learn More
If you’d like to learn more about getting started with Tableau, check out Dashboard Design. This 4-course bundle includes a half-day course on Tableau.
Leave a Reply